
Let’s face it: investing significantly into your home is a huge decision, especially when it comes to something as critical as a kitchen renovation. Sparks and Reno, Nevada customers now have an incredible option in this regard: kitchenCRATE!
In this post, we feature our most recent project completion: an extensive update to this 2003 home in Sparks, NV.
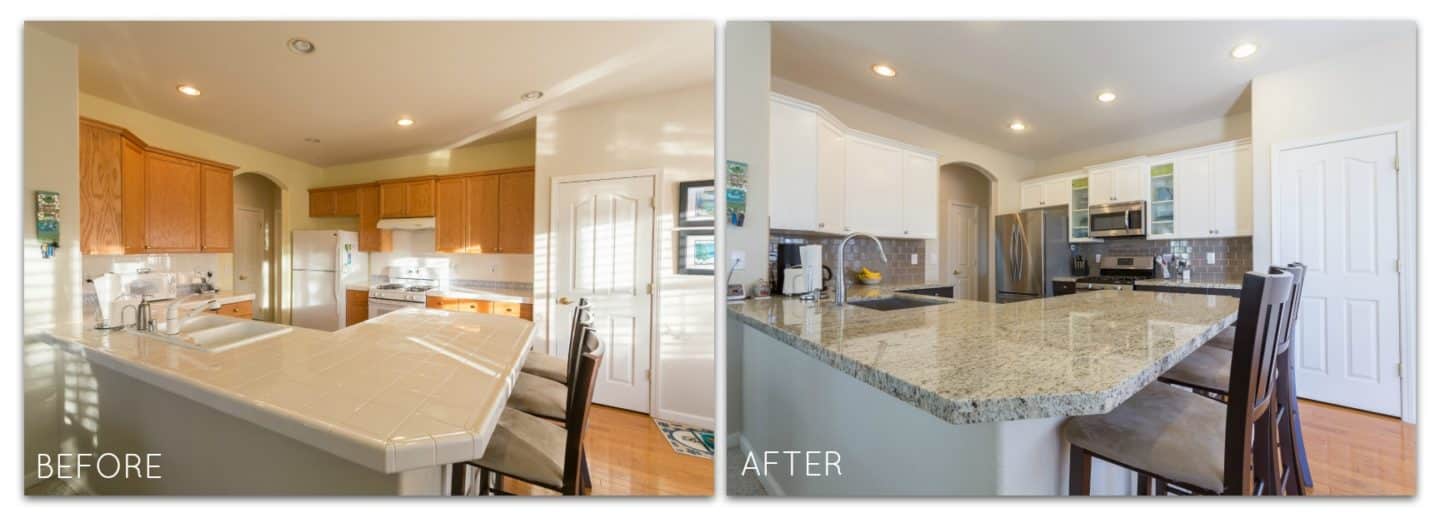
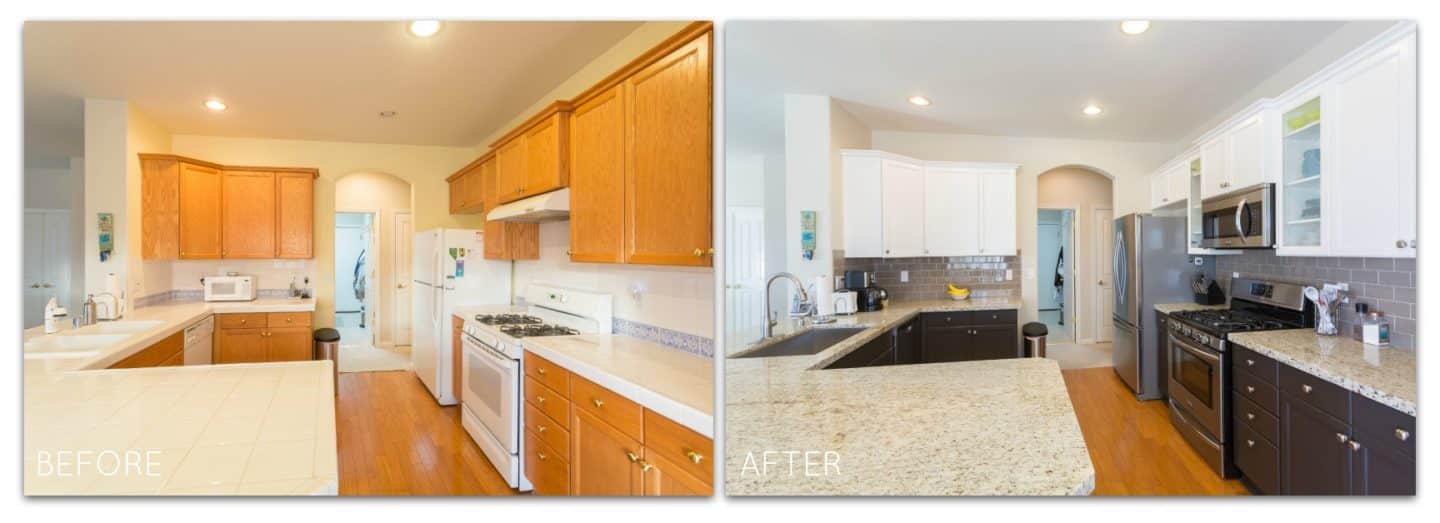
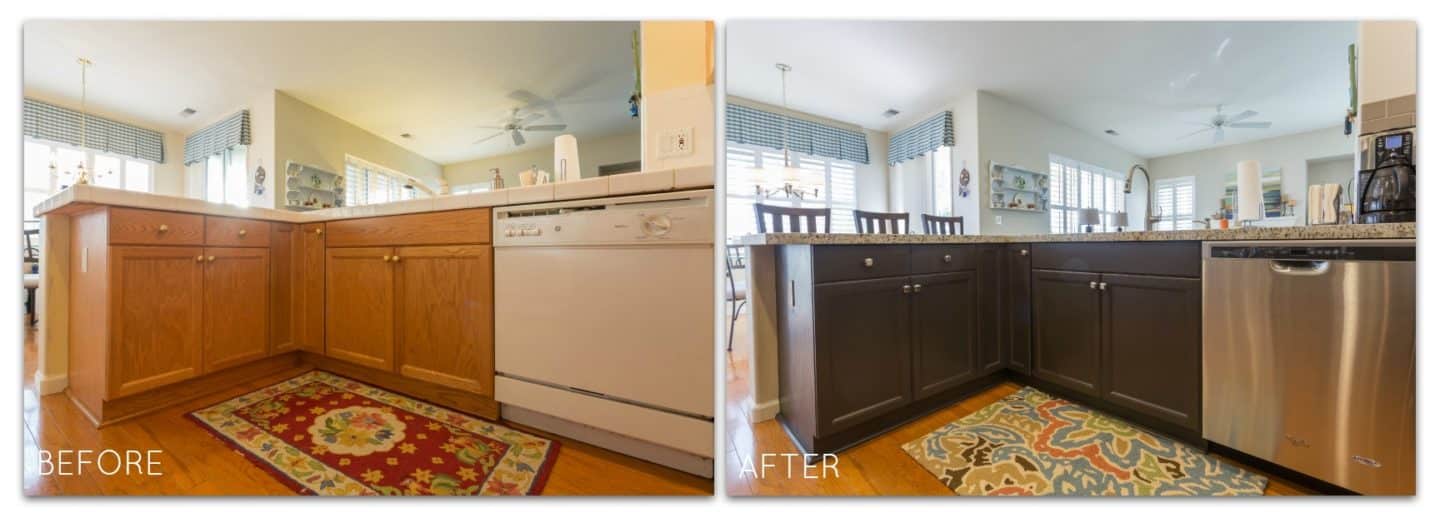
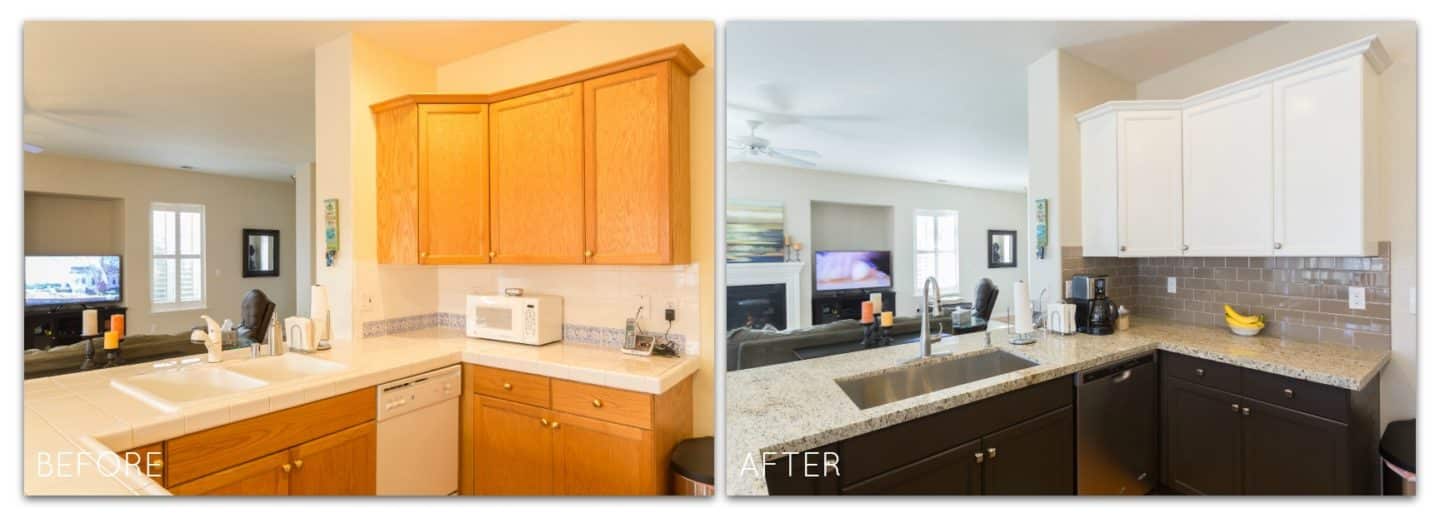
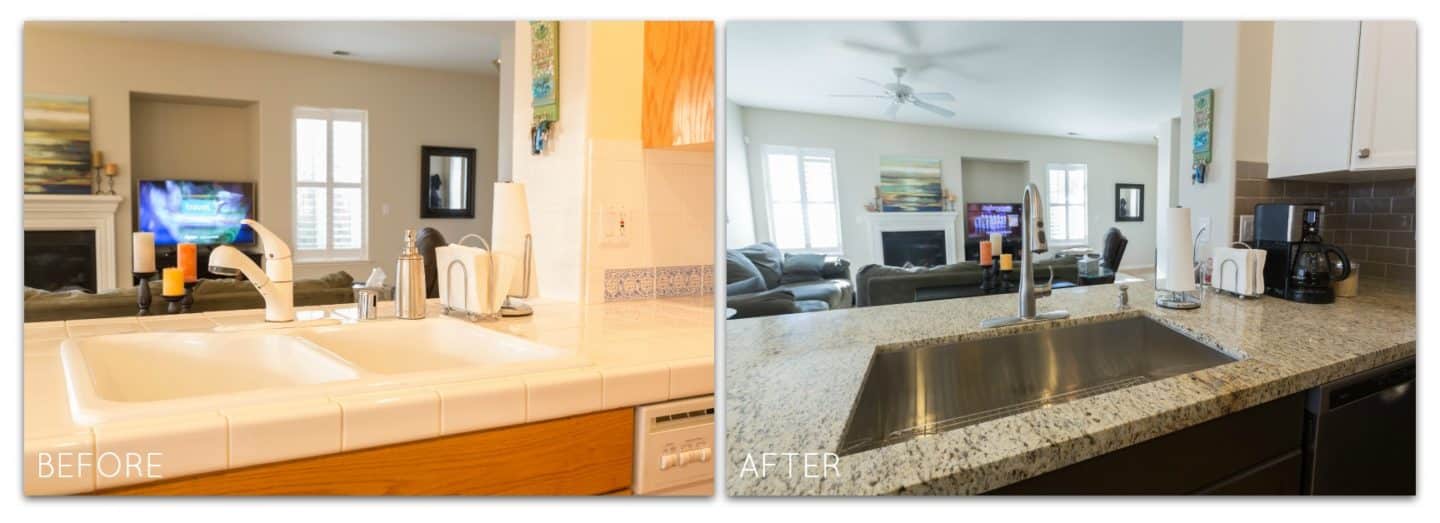
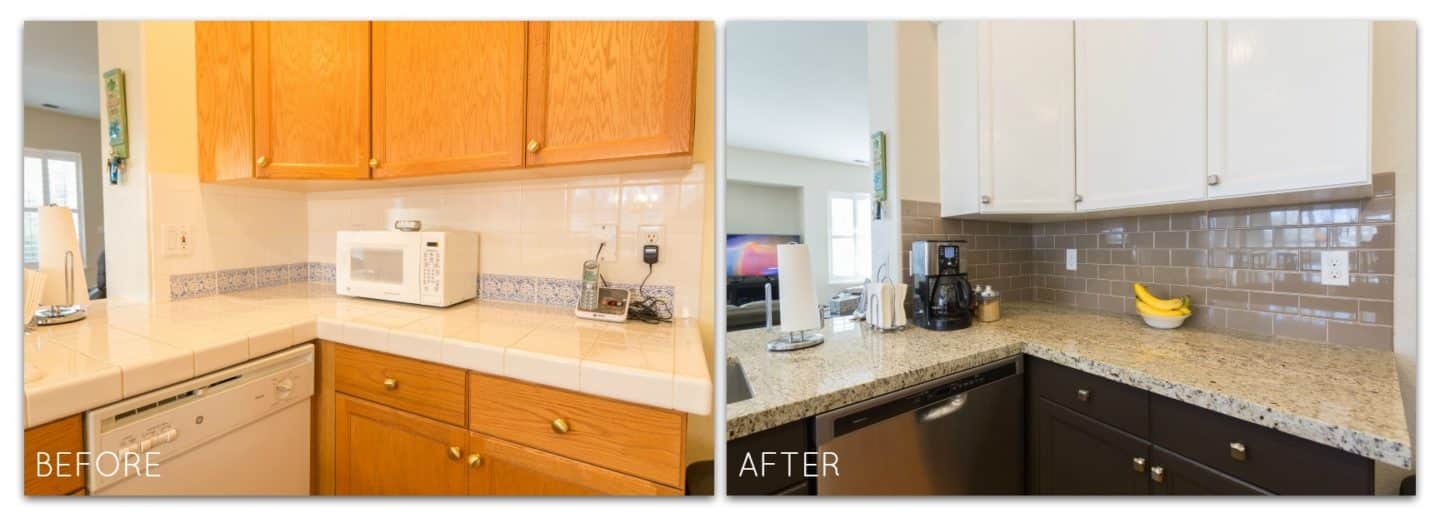
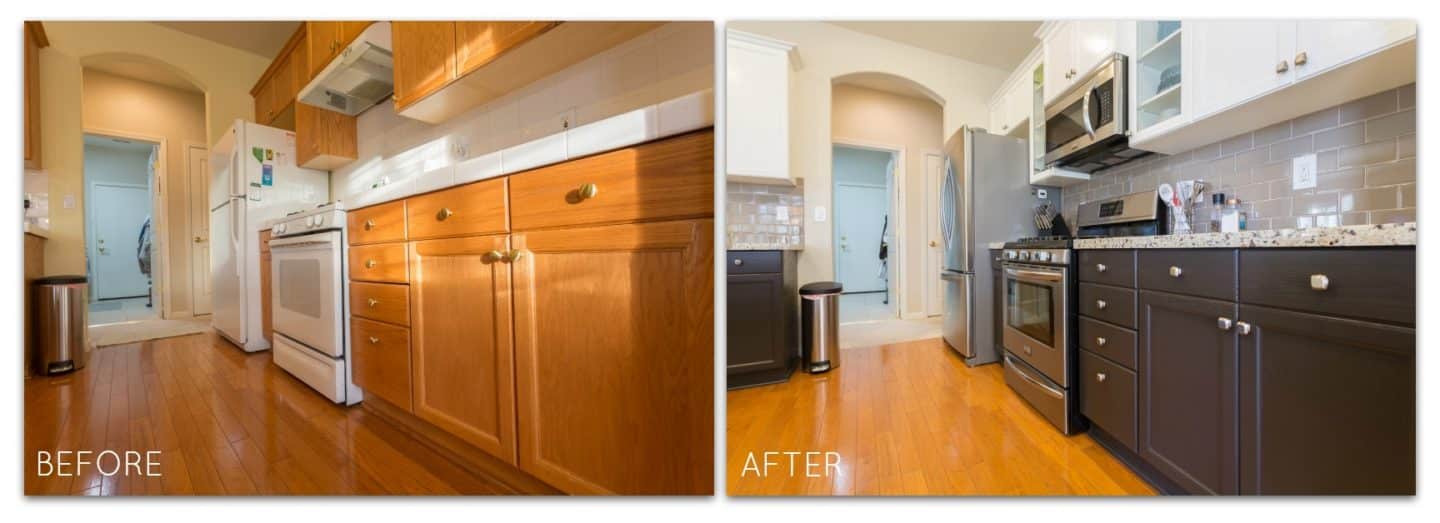
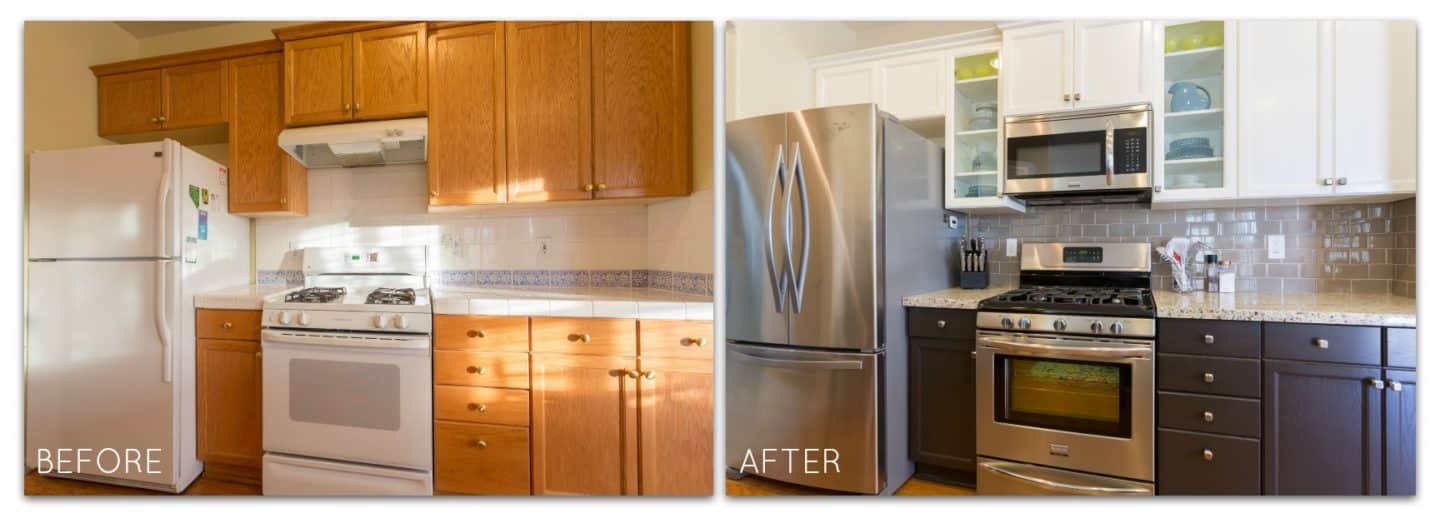
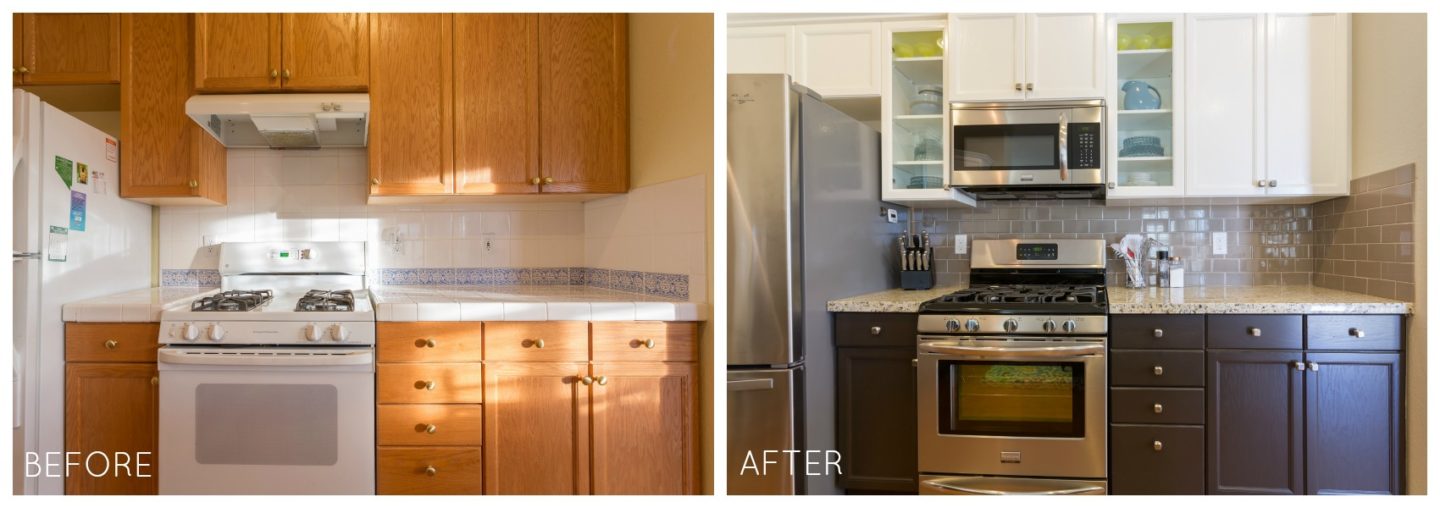
Custom granite countertops, full-height glazed tile backsplash, and expertly-refinished cabinets are just a few of the dramatic changes in this kitchen renovation.
Scroll down to hear the homeowner’s thoughts on the kitchenCRATE process and see an array of before and after images for this project!
The Homeowner’s Kitchen Renovation Experience
What was your favorite part of the kitchenCRATE process?
My favorite part of the kitchenCRATE process is seeing the completed kitchen and how well it turned out. Love it!
What was your favorite part about the kitchenCRATE team?
Everyone was very knowledgeable. It was especially nice to have the assistance of a designer to help guide me through all the color choices. Everyone showed up when they said they would and the job was done one day sooner than expected.
Was there anything about the process or project that surprised you? If so, what was it?
I didn’t realize the interiors of the cupboards were also going to be painted. They look brand new now.
Before and After Pictures
(Click each image to enjoy a larger view.)
Day by Day Progress
(Note: We added a few extra days to our normal 7-day process to accommodate the owner-request add-ons, like these…)
Here’s how we did it:
Day 1 – Demo Day! On this first day, we set up plastic walls to protect the home from dust, protected the path from the entry door to the kitchen with building paper, and then went to town removing the appliances, countertop, backsplash, plumbing fixtures, cabinet doors, and drawers.
Day 2 – We reinforced the plywood sub-tops with steel straps to support the new granite countertops. Toward the end of the day we created the template for the new granite countertops, which take a few days to fabricate off-site.
Day 3 – Since all the walls and the ceilings had been protected, our painters began preparing and priming the cabinets. Using a high-grade, oil-based primer, every inch of the kitchen cabinets were caulked, sanded and primed. This is the first (and perhaps most critical) step of creating a durable paint finish.
Day 4 & 5 – The painters then began refinishing the kitchen cabinets in this Reno home and applied two coats of Kelly-Moore Dura-poxy paint in Pearly White to the thoroughly sanded and primed upper cabinets and Kelly-Moore paint to match Behr Espresso Beans to the lower cabinets. This same priming and painting process was used on the new doors and drawers, which are painted off-site in a climate-controlled paint booth for the highest possible quality.
Day 6 – The countertop installation team arrived to install the beautiful Kohler Vault single bowl sink in Stainless Steel and the Giallo Ornamental granite countertops with a mitered edge.
Day 7 – The tile backsplash artisans installed the Daltile Elemental Tan 3″ x 6″ semi-gloss tiles. The tile backsplash was grouted with Laticrete Latte grout. The painting team was back on site to paint the walls.
Day 8 – Lastly, the kitchenCRATE team installed the homeowner’s new appliances. The transformation then hit the home stretch with the installation of the freshly-painted cabinet doors and drawers. The final day of the project included an array of “touch-up” items: all outlets and switches were replaced, the Kohler Simplice faucet and Kohler Transitional Design soap dispenser, each with a vibrant stainless finish, were installed and the entire project was cleaned, top-to-bottom.
Kitchen Renovation Technical Details
- Countertop: Giallo Ornamental Granite
- Backsplash: Daltile Elemental Tan 3″ x 6″ Semi-Gloss Tiles
- Grout: Laticrete Latte
- Upper Cabinet Finish: Kelly-Moore Pearly White semi-gloss finish using a trusted Kelly-Moore Dura-Poxy paint and primer.
- Lower Cabinet Finish: Kelly-Moore semi-gloss paint to match Behr Espresso Beans using Kelly-Moore Dura-Poxy paint and primer.
- Cabinet Hardware: Liberty Mandara 1-1/4″ knobs in Satin Nickel with matching cabinet hinges.
- Sink: Kohler Vault Single Bowl in Stainless Steel
- Faucet: Kohler Simplice in Vibrant Stainless
- Soap Dispenser: Kohler Transitional Design in Vibrant Stainless
- Garbage Disposal: InSink Erator 1/2 HP Badger 5
Contact Us Today for More Information on Kitchen Renovations!
Perhaps you are a bit jealous of the Bridger Peak Drive kitchen renovation. Maybe you like the layout of your kitchen, but you are ready for a completely new look and feel. Contact us today, we will make this happen in just a few days and for an amazingly low price. Simply click here to schedule your phone consultation using our online scheduling system. Or feel free to call us directly during business hours at 888-995-7996!

