
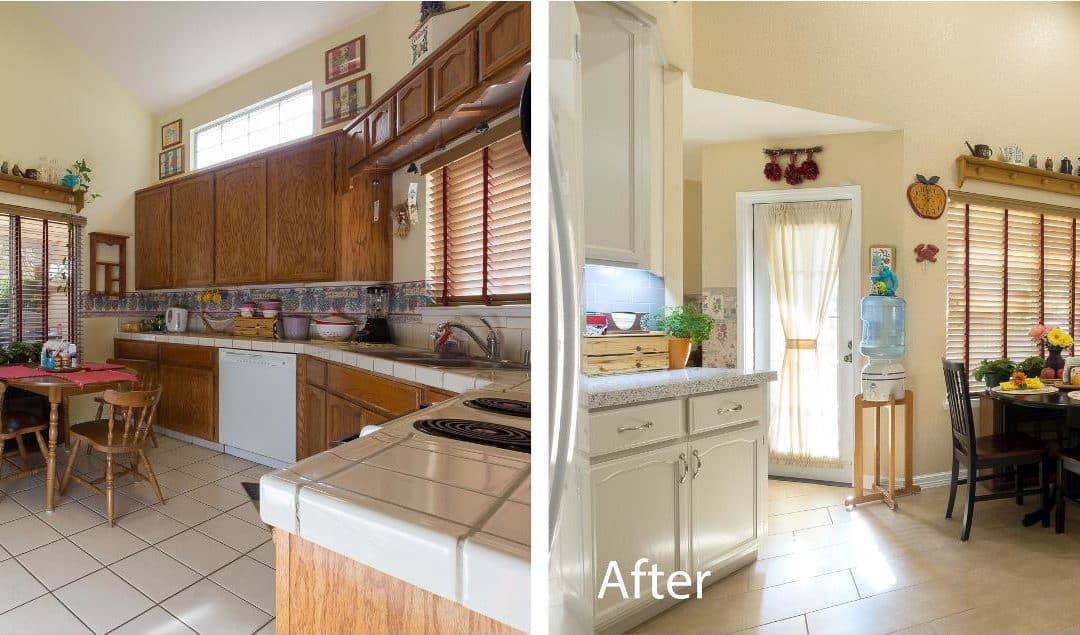
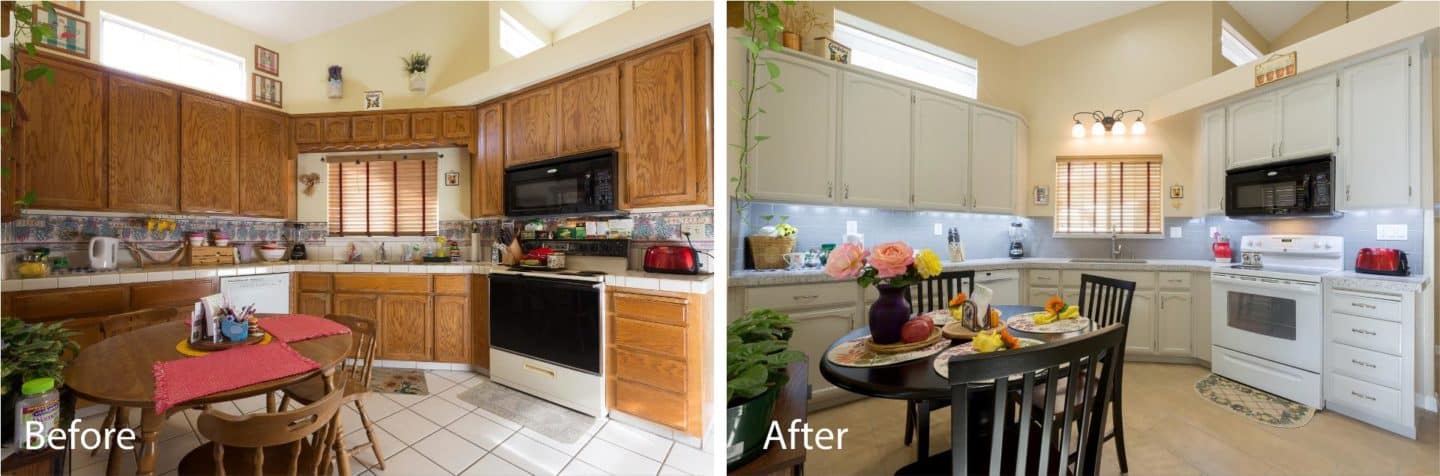
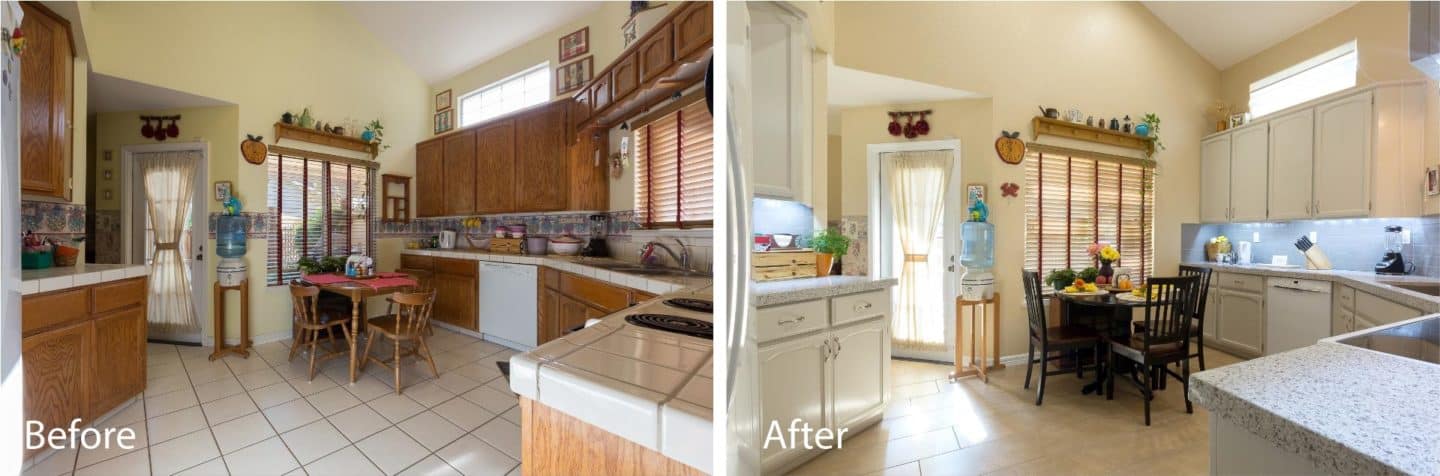
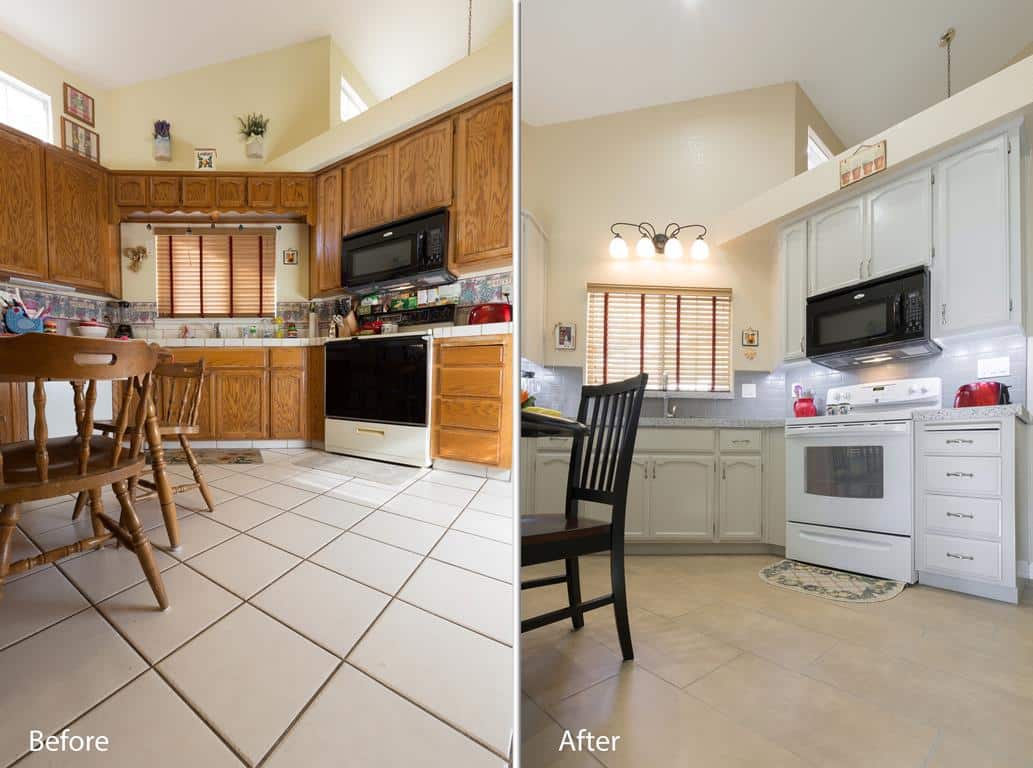
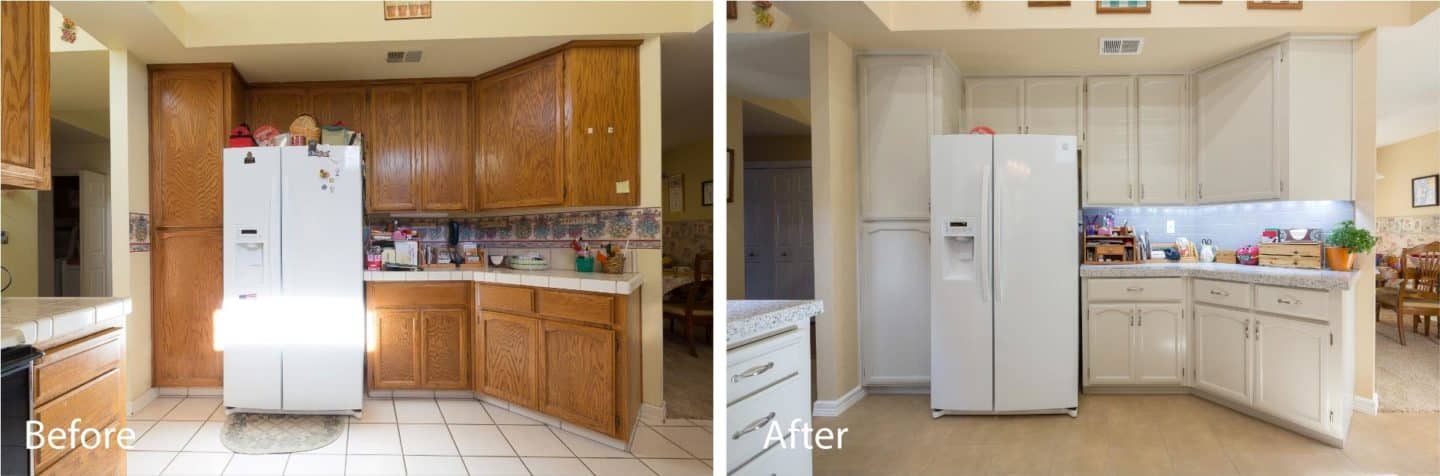
New flooring, freshly painted cabinets, tile backsplash, we love it all! This 90’s home looks bright and refreshed after a few updates, don’t you think?
But don’t just take our word on how well this job turned out. Look below for the project specifications and extensive before and after pictures!
Project Complete Pictures
(Click each image to enjoy a larger view.)
Day by Day Remodeling Progress
(Note: We added a few extra days to our normal 7-day process to accommodate the owner-request add-ons, like these.)
Here’s how we did it:
Day 1 – Demo Day! On this first day, we set up plastic walls to protect the home from dust, protected the path from the entry door to the kitchen with building paper, and then went to town removing the appliances, countertops, backsplash, plumbing fixtures, outdated light box and cabinet doors and drawers. We also reinforced the plywood sub-tops with steel straps to support the new quartz counters. Toward the end of the day we created the template for the new countertops, which take a few days to fabricate off-site.
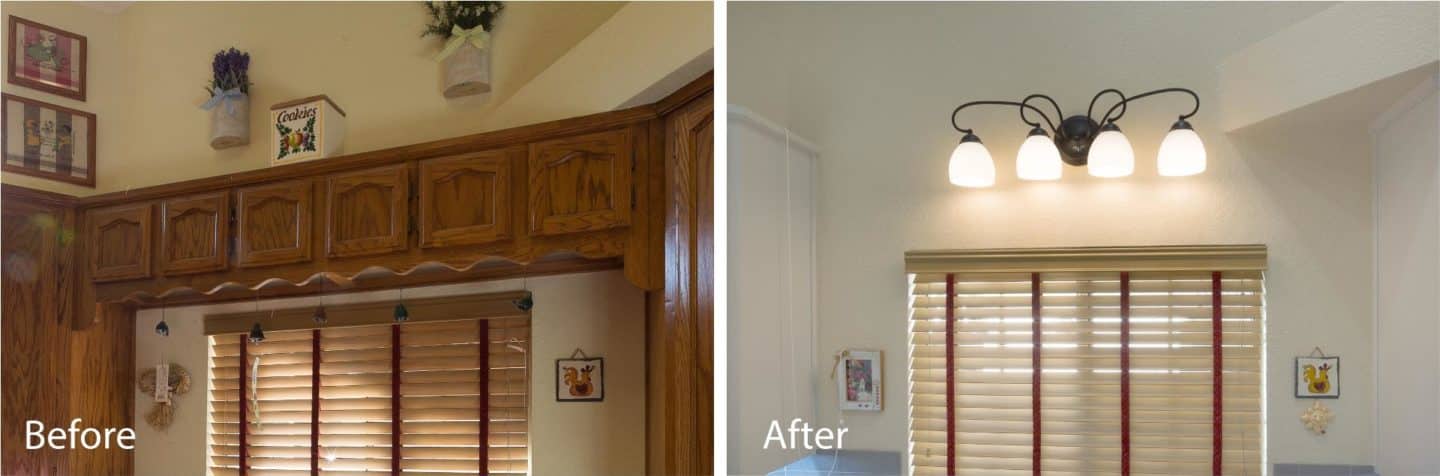
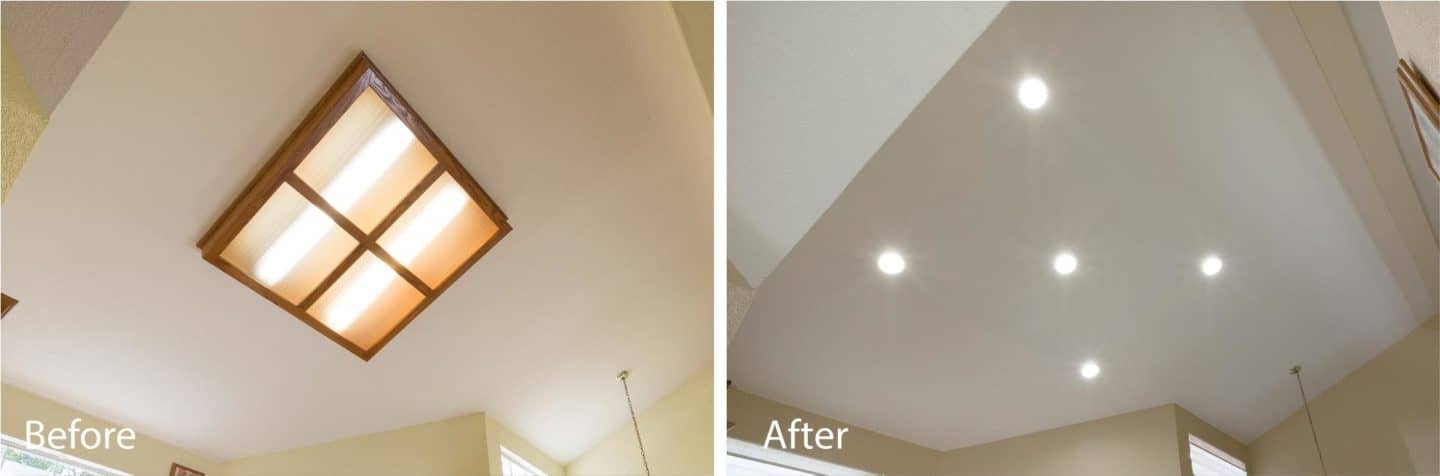
Day 2 – The electrical team began the wiring for energy efficient, long-lasting LED recessed light fixtures. Five six inch can lights were placed strategically around the kitchen to optimize the lighting over work spaces. On this day the team also worked on cabinet modifications, which included removing the cabinets above the sink and installing a new wall light fixture.
Day 3 – Next, we used metal-stud framing to sheetrock the ceiling at the old lightboxes and then hung and taped the sheetrock. The sheetrock at the countertop was also repaired and made ready for the new tile backsplash.
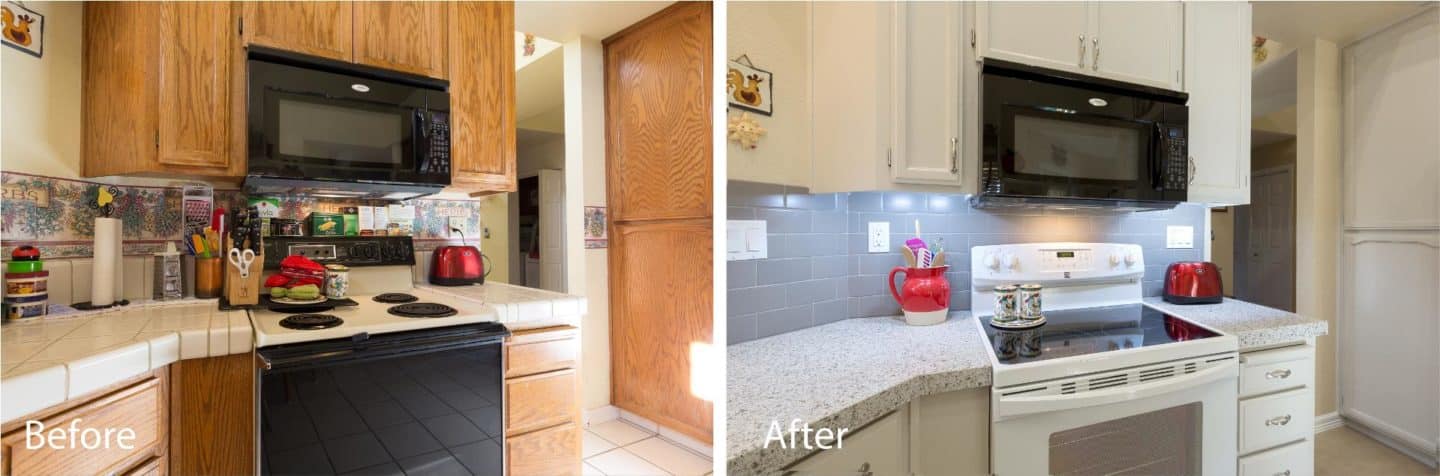
Day 4 – Since all the walls and the ceilings had been protected, our painters began preparing and priming the cabinets in the kitchen. Using a high-grade, oil-based primer every inch of the kitchen cabinets were caulked, sanded and primed. This is the first (and perhaps most critical) step of creating a durable paint finish.
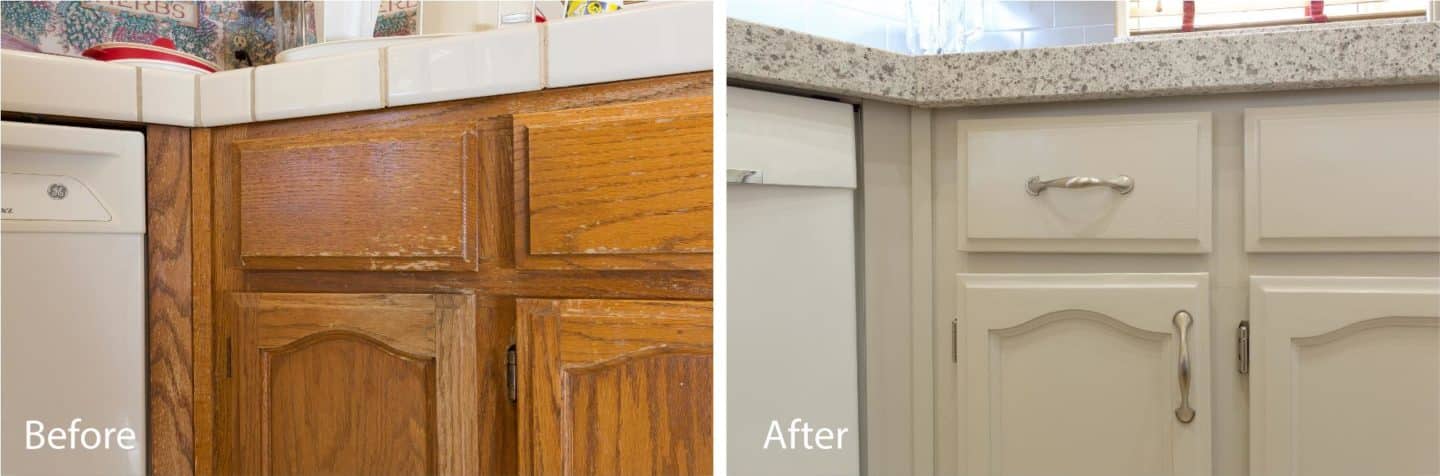
Day 5 – The painters then began refinishing the kitchen cabinets in this Tracy home. Two coats of Kelly-Moore Dura-poxy semi-gloss Cobblestone Street paint were applied to the thoroughly sanded and primed cabinets. This same priming and painting process was used on the doors and drawers, which are painted off-site in a climate-controlled paint booth for the highest possible quality.
Day 6 – The walls and ceiling in the kitchen also received a fresh coat of paint. Kelly-Moore Czech Bakery paint with a satin finish was applied to the walls and a color matching the existing paint was applied to the ceiling.
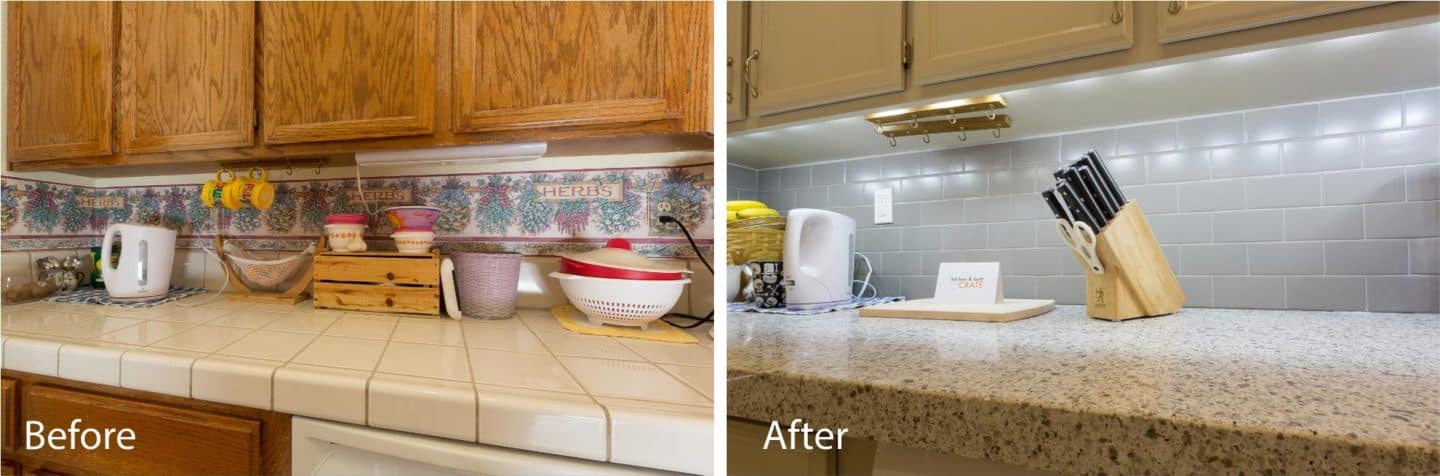
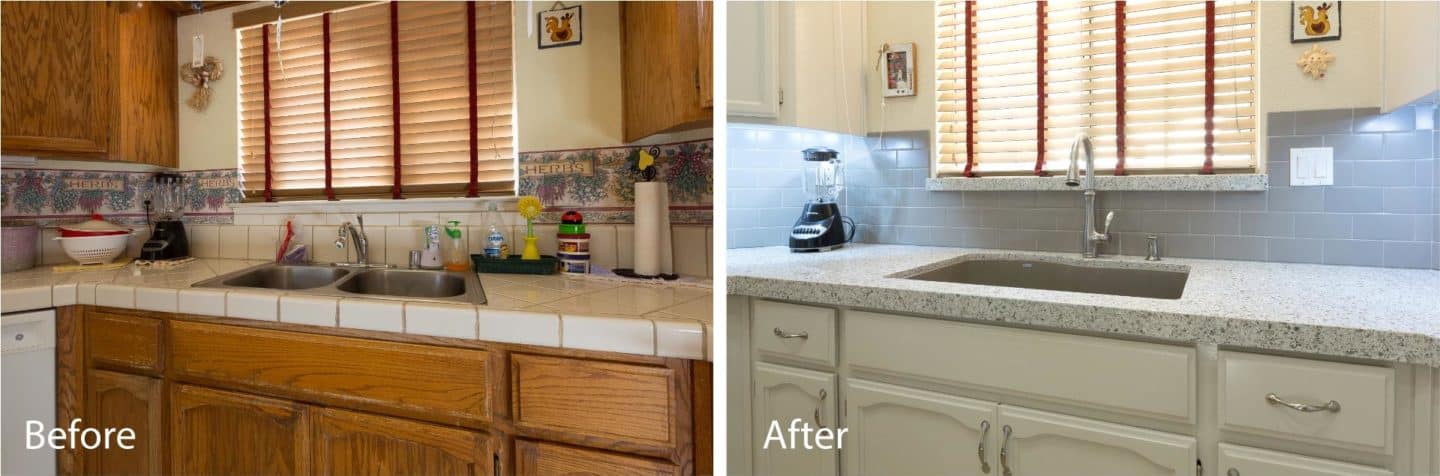
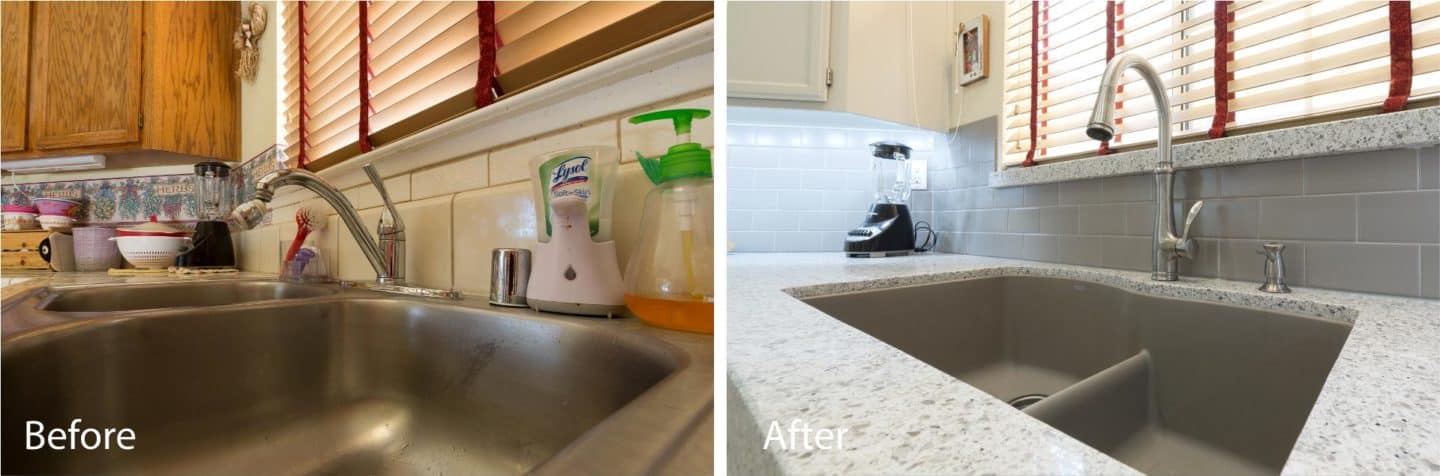
Day 7 – The countertop installation team arrived to install the beautiful Blanco Diamond sink in Truffle and the MSI Peppercorn quartz countertops with beveled edge detail.
Day 8 – The tile backsplash artisans were on site to install the Bedrosians Traditions Taupe 3″ x 6″ ceramic tiles. The tile was grouted using Laticrete Sterling Silver grout.
Days 9, 10 & 11– The tile team was back on site to install the Bedrosians Metro Plus Coco Rum 12″ x 24″ porcelain floor tiles. The flooring was grouted using Laticrete Desert Khaki grout.
Days 12 & 13 – Lastly, the kitchenCRATE team installed the homeowner’s new appliances. The transformation then hit the home stretch with the installation of the freshly-painted cabinet doors and drawers. The final day of the project included an array of “touch-up” items: all outlets and switches were replaced, the Kohler Bellera faucet and Traditional Design soap dispenser, each with a vibrant stainless finish, were installed and the entire project was cleaned of all construction debris.
Technical Details
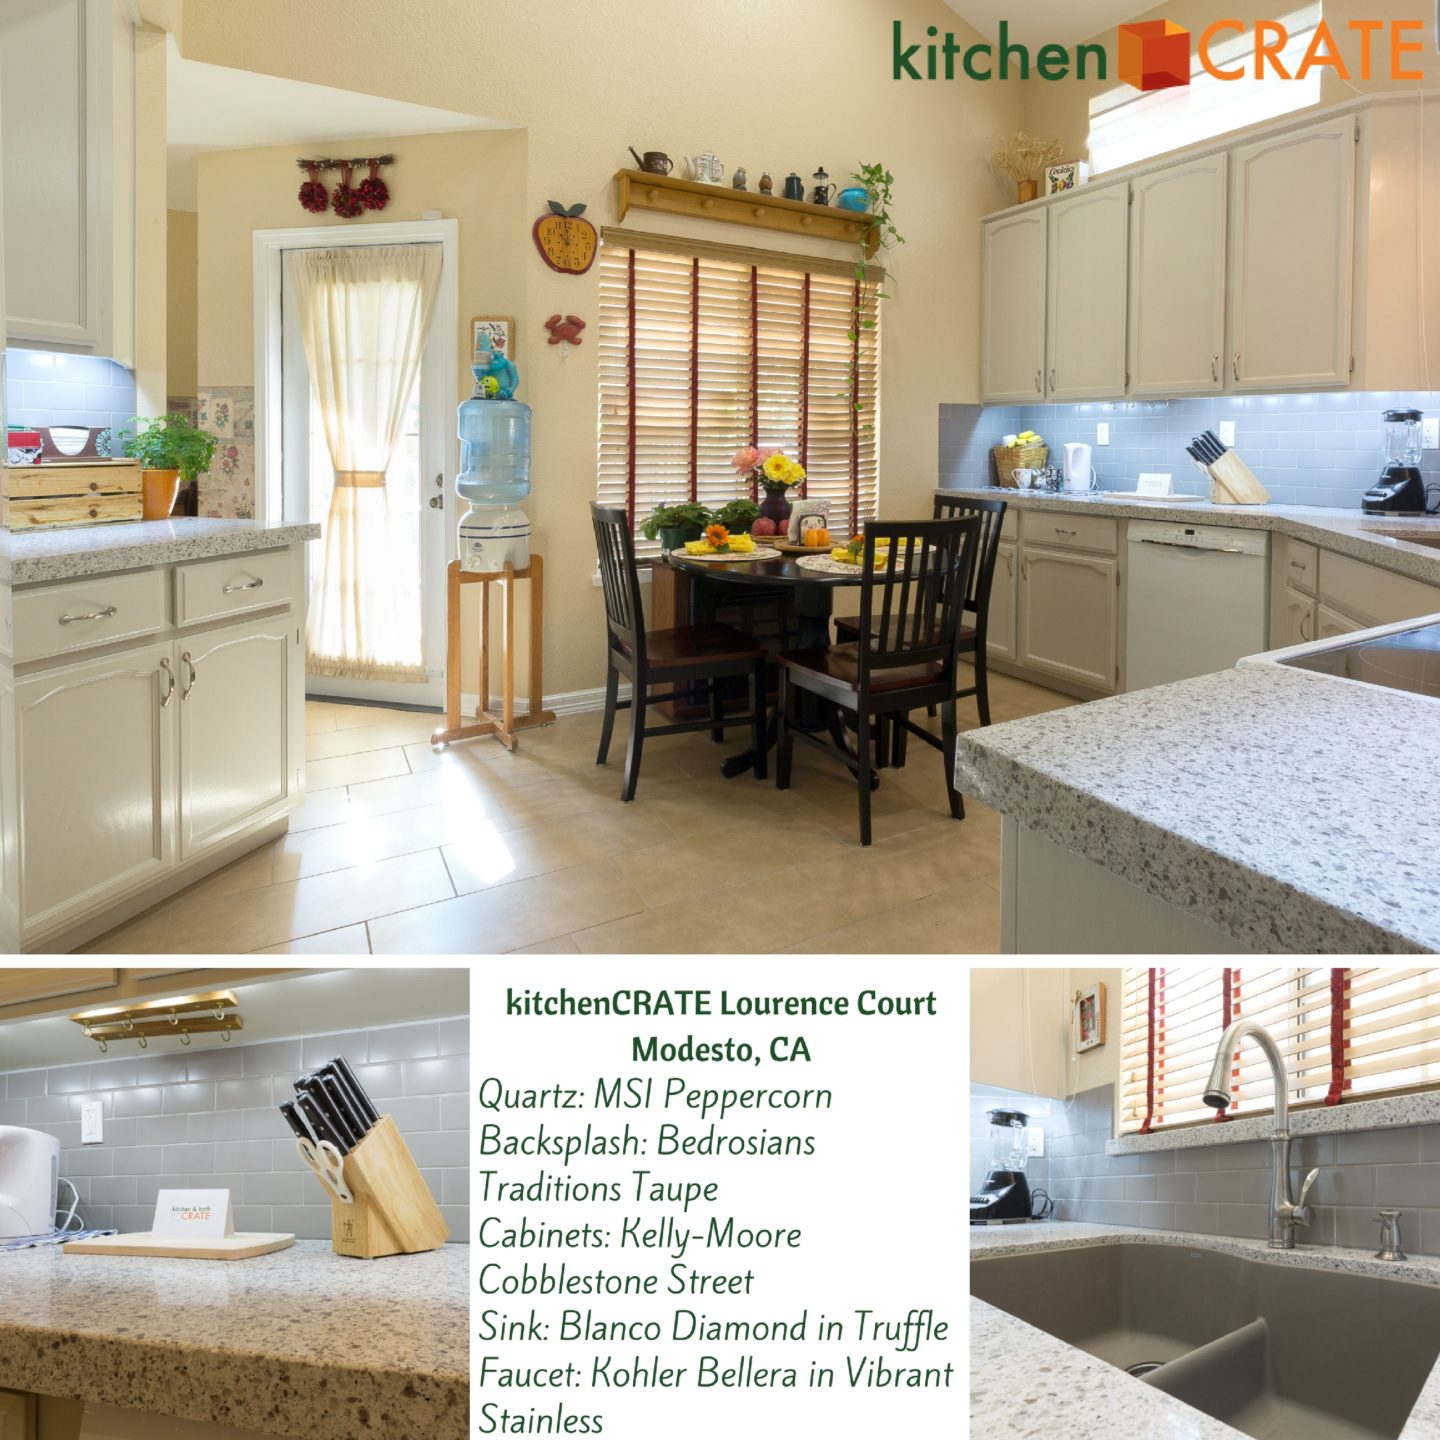
- Countertop: MSI Peppercorn Quartz
- Backsplash: Bedrosians Traditions Taupe 3″ x 6″ Ceramic Tiles
- Sink: Blanco Diamond in Truffle
- Faucet: Kohler Bellera in Vibrant Stainless
- Soap Dispenser: Traditional Design in Vibrant Stainless
- Garbage Disposal: InSinkErator Badger 5 1/2 HP
- Cabinet Paint: Kelly-Moore Cobblestone Street in semi-gloss finish using a top-of-the-line Kelly-Moore Dura-Poxy paint and primer.
- Cabinet Hardware: Brainerd 3″ half round foot pulls in Satin Nickel with matching hinges.
- Wall Paint: Kelly-Moore Czech Bakery in Satin
Contact Us Today to Start Designing the Kitchen of Your Dreams!
Perhaps the Lourence Court kitchen reminds you of your kitchen. Perhaps you like the layout of your kitchen and the cabinets are in good condition, but you are ready for a completely new look and feel. KitchenCRATE can make this happen in just a few days and for an amazingly low price.
Just click here to schedule your phone consultation using our online scheduling system. Or feel free to call us direct during business hours at 888-995-7996!
Scott Monday is the founder and CEO of kitchenCRATE and bathCRATE. Follow him on Facebook or Linked-In.
Want to see more project profiles just like this? Want the latest kitchenCRATE projects, news and discounts delivered directly to your inbox? Simply click the button below!


